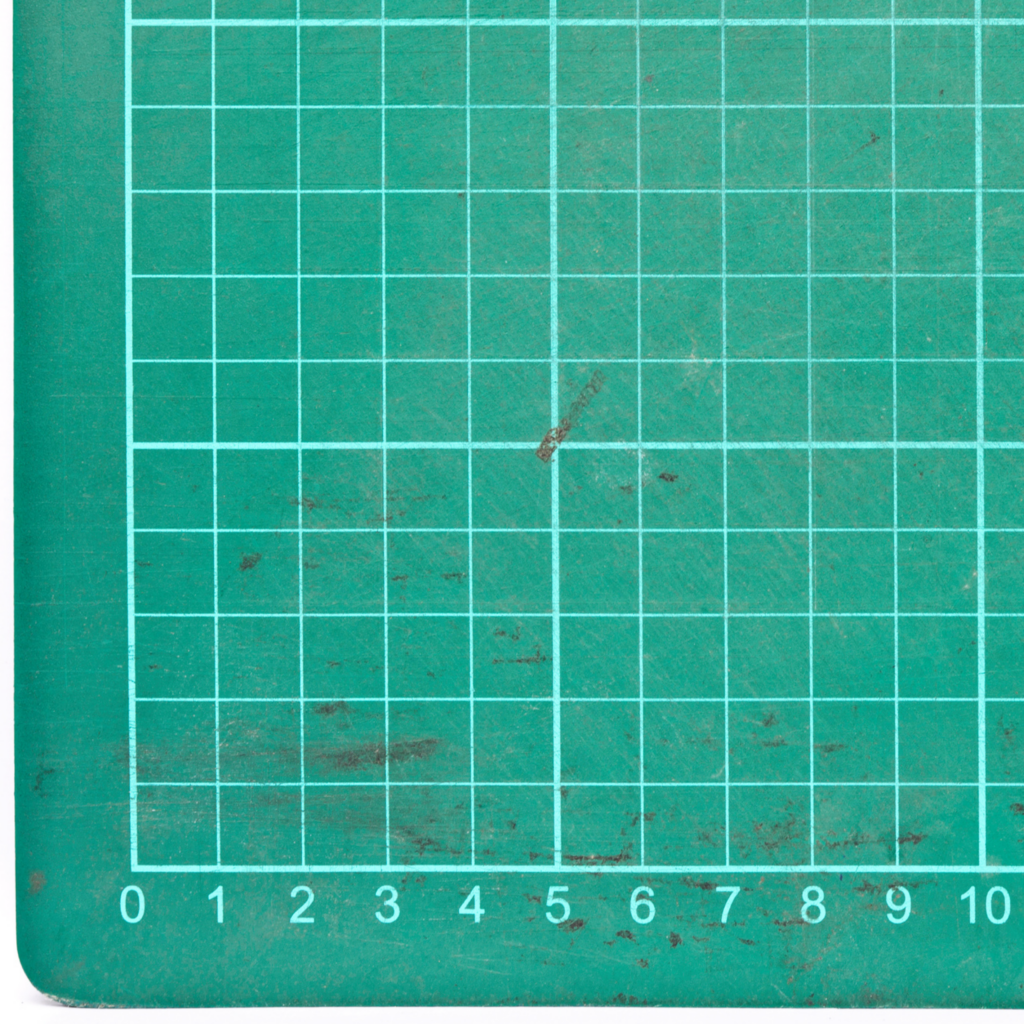
A Step-by-Step Guide to Cleaning Your Cutting Mat – Cutting mats are essential tools for crafters, quilters, and anyone working with knives and blades. Over time, these mats can accumulate debris, stains, and adhesive residue, diminishing their effectiveness. Proper cleaning not only prolongs the life of your cutting mat but also ensures a smooth and precise cutting surface. Here’s a step-by-step guide on how to clean your cutting mat effectively.
A Step-by-Step Guide to Cleaning Your Cutting Mat
Materials Needed:
- Cutting mat to clean
- Mild dish soap
- Soft-bristle brush or sponge
- Lint roller or adhesive remover
- Towels or paper towels
Step 1: Clear the Surface
Remove any scraps, paper bits, or loose debris from the cutting mat. Use a soft brush or your hands to gently sweep away larger particles.
Step 2: Pre-treat Stains
For stubborn stains, apply a small amount of mild dish soap directly onto the affected areas. Allow it to sit for a few minutes to break down the stains.
Step 3: Scrub the Surface
Using a soft-bristle brush or sponge, gently scrub the entire surface of the cutting mat. Focus on areas with stains or adhesive residue. Be cautious not to use a brush with stiff bristles, as it could damage the mat.
Step 4: Rinse Thoroughly
Once you’ve scrubbed the mat, rinse it thoroughly with lukewarm water. Make sure to remove all soap residue from the surface.
Step 5: Pat Dry
Pat the cutting mat dry with a clean towel or paper towels. Avoid rubbing the mat vigorously, as it may cause unnecessary wear.
Step 6: Check for Remaining Debris
Inspect the cutting mat for any remaining debris or adhesive. Use a lint roller or adhesive remover to pick up any stubborn particles. Roll the lint roller across the surface, focusing on areas with residue.
Step 7: Air Dry
Allow the cutting mat to air dry completely before using it again. This ensures that no moisture is trapped, preventing potential mold or mildew growth.
Maintenance Tips:
- Store your cutting mat in a flat, cool, dry place to prevent warping.
- Avoid exposure to direct sunlight for extended periods.
- Use a cutting mat that suits your specific crafting needs to minimize wear and tear.
Conclusion:
Regular cleaning and proper maintenance are key to preserving the quality and longevity of your cutting mat. By following these simple steps, you can keep your cutting mat in top condition, ensuring precise and enjoyable crafting experiences for years to come.
How to clean your Cricut cutting mat!
Upcoming Events
This is a list of the upcoming events that Steve Sews will be at. If you know of one in the East Tennessee area, let me know.
None at this time. Check back later.
Meet …
Meet the staff and/or equipment for Steve Sews.
- Brother Stitch (Current Sewing Machine)
- Forge (Circuit)
- Interns
- Lovees (Stuffed Animals)
- Mendi (My Wife’s Sewing Machine)
- Rosie (Antique Sewing Machine)
- Steve (Steve himself)
- The Masked Bandit (Steve’s older Sewing Machine)
- Trainees
- Van the T-Rex (Helper)
- Zee (Face Mask Model)

SUBSCRIBE TODAY!
Don’t miss a single blog post about sewing, quilting, crafts, and recipes! Plus so much more!

Follow on WordPress
Follow Steve Sews Stuff on WordPress.comFollow Steve Sews Stuff on Social Media:
You can also choose to follow Steve Sews Stuff on social media as well. (@SteveSews2)
Below are some examples of blog entries from all blogs that I do. (Courageous Christian Father, Steve Sews Stuff and SteveZ DesignZ).
Recent Feed of All of Steve’s Blogs


Recent Posts on Steve Sews
Below is a list of the most recent blog posts found on Steve Sews for you to check out.
- A Journey Through Modern Sewing Machines
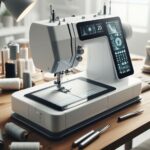 A journey through modern sewing machines reveals a fusion of technology and tradition. From computerized models that offer precise stitching to machines with advanced features like automatic thread cutting and embroidery functions, today’s sewing machines cater to a wide range of needs and skill levels.
 - National Laundry Day
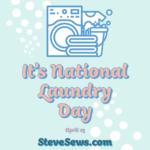 National Laundry Day – a day to honor that loved home chore of doing laundry. You could use this day to do laundry or not do laundry. #Laundry #LaundryDay
 - Sewing Holidays
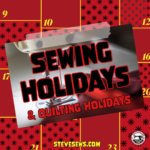 List of Sewing holidays and quilting holidays. (And some other craft-related holidays). #sewing #quilting
 - International Safety Pin Day
 International Safety Pin Day is observed on April 10 of every year. It is an unofficial observance dedicated to the simple yet clever invention: safety pins. These unassuming little pins have a fascinating history and countless practical uses. Let’s delve into the story behind International Safety Pin Day and celebrate this ingenious creation.
 - National DIY Day
 National DIY Day is an annual event celebrated on the first Saturday in April. It was founded in 2016 by the craft and DIY website, Craft Box Girls. The purpose of National DIY Day is to encourage people to take on creative projects and embrace their inner DIY spirit.
Clipart: Unsplash, Pixabay, Pexels, Openverse, Adobe Express, Adobe Stock, FreePik, MetroCreative, Wonder AI, Algo AI and more. This site uses Amazon Affiliate Ads & Google Ads.
