Use registration marks or blocks to help align layers of vinyl – Vinyl is a versatile material that is used for a wide range of applications such as signage, vehicle graphics, and decals. When working with vinyl, one of the most important aspects is ensuring that different layers align properly to create a seamless design. One way to achieve this is by using registration marks or blocks.
Use registration marks or blocks to help align layers of vinyl
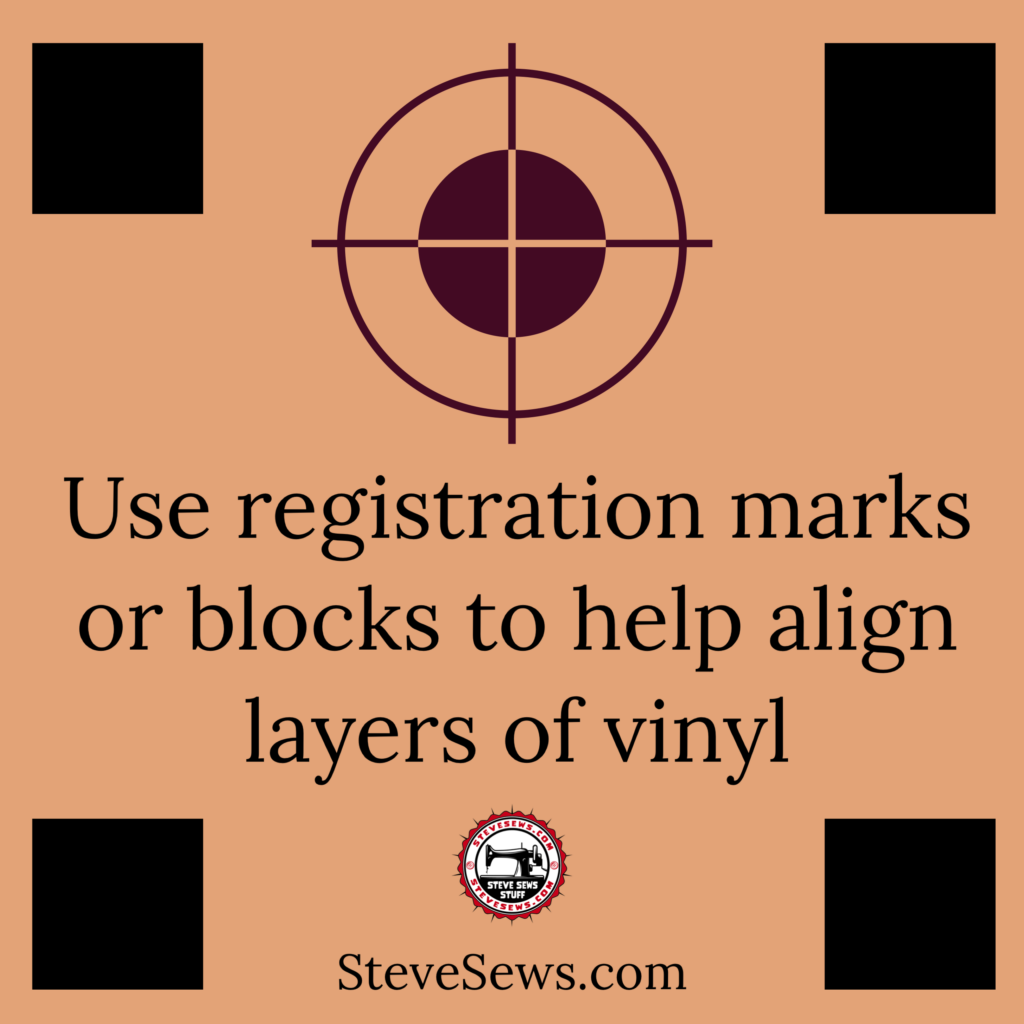
Registration marks or blocks are small markings that are placed on the vinyl material to help align different layers. They are typically small squares or circles that are strategically placed on the vinyl material. The marks are printed on each layer of vinyl and are used to align each layer perfectly.
These marks work very similar to that in the graphic design and printing industry.
Here are some tips on how to use registration marks or blocks to help align different layers of vinyl:
- Plan your design: Before you start cutting or printing your vinyl, it’s important to plan your design carefully. This will help you determine how many layers you need and where the registration marks or blocks should be placed.
- Use a consistent design: To ensure that the registration marks or blocks line up perfectly, use a consistent design for each layer. This could be a simple shape or a logo that is repeated on each layer.
- Place the registration marks or blocks: Once you have your design planned out, it’s time to place the registration marks or blocks. These marks should be placed in a consistent location on each layer of vinyl. Make sure that the marks are placed in a location that is easy to see and won’t be covered up by other elements of your design.
- Cut or print your vinyl: Once the registration marks or blocks are in place, you can start cutting or printing your vinyl. Make sure that you use the same settings for each layer of vinyl to ensure consistency.
- Align the layers: Once you have all of your vinyl layers cut or printed, it’s time to align them. Use the registration marks or blocks to line up each layer perfectly. Once the layers are aligned, use a squeegee or other tool to press the layers together.
Using registration marks or blocks is a simple and effective way to ensure that different layers of vinyl align perfectly. By following these tips, you can create seamless designs that are sure to impress.
You could make square blocks for this process. If you forget to remove those blocks, you end up with them on your project.
Upcoming Events
This is a list of the upcoming events that Steve Sews will be at. If you know of one in the East Tennessee area, let me know.
None at this time. Check back later.
Meet …
Meet the staff and/or equipment for Steve Sews.
- Brother Stitch (Current Sewing Machine)
- Forge (Circuit)
- Interns
- Lovees (Stuffed Animals)
- Mendi (My Wife’s Sewing Machine)
- Rosie (Antique Sewing Machine)
- Steve (Steve himself)
- The Masked Bandit (Steve’s older Sewing Machine)
- Trainees
- Van the T-Rex (Helper)
- Zee (Face Mask Model)

SUBSCRIBE TODAY!
Don’t miss a single blog post about sewing, quilting, crafts, and recipes! Plus so much more!
Follow on WordPress
Follow Steve Sews Stuff on WordPress.comFollow Steve Sews Stuff on Social Media:
You can also choose to follow Steve Sews Stuff on social media as well. (@SteveSews2)
Below are some examples of blog entries from all blogs that I do. (Courageous Christian Father, Steve Sews Stuff and SteveZ DesignZ).
Recent Feed of All of Steve’s Blogs


Recent Posts on Steve Sews
Below is a list of the most recent blog posts found on Steve Sews for you to check out.
- National Laundry Day
 National Laundry Day – a day to honor that loved home chore of doing laundry. You could use this day to do laundry or not do laundry. #Laundry #LaundryDay
 - Sewing Holidays
 List of Sewing holidays and quilting holidays. (And some other craft-related holidays). #sewing #quilting
 - International Safety Pin Day
 International Safety Pin Day is observed on April 10 of every year. It is an unofficial observance dedicated to the simple yet clever invention: safety pins. These unassuming little pins have a fascinating history and countless practical uses. Let’s delve into the story behind International Safety Pin Day and celebrate this ingenious creation.
 - National DIY Day
 National DIY Day is an annual event celebrated on the first Saturday in April. It was founded in 2016 by the craft and DIY website, Craft Box Girls. The purpose of National DIY Day is to encourage people to take on creative projects and embrace their inner DIY spirit.
 - May the ¼” Be With You
 May the ¼” Be With You: Celebrating Seam Allowances and Star Wars Day — As sewists, we know the power of a perfect seam allowance. It’s the force behind every crisp edge, every smooth curve, and every sturdy stitch. And what better time to celebrate this unsung hero of the sewing world than on May 4th, a day when fans across the galaxy proclaim, “May the Force be with you”? In the spirit of Star Wars Day, let’s explore the significance of the quarter-inch seam allowance and how it aligns with the precision and dedication of the Jedi.
Clipart: Unsplash, Pixabay, Pexels, Openverse, Adobe Express, Adobe Stock, FreePik, MetroCreative, Wonder AI, Algo AI and more. This site uses Amazon Affiliate Ads & Google Ads.
