Exploring the Creative World of Printing on Fabric with Wax Paper and an Iron – In the vast realm of do-it-yourself crafts, the ability to print designs directly onto fabric opens up a world of possibilities. Whether you’re looking to personalize clothing, create custom home decor, or add a unique touch to your accessories, printing on fabric offers endless opportunities for self-expression. In this blog post, we’ll explore a simple yet effective method using wax paper and an iron to transfer printed images onto fabric. Get ready to embark on an exciting journey of creativity and learn how to turn your ideas into tangible textile masterpieces!
Exploring the Creative World of Printing on Fabric with Wax Paper and an Iron
Check out this video I saw on TikTok
Materials You’ll Need:
- Fabric of your choice
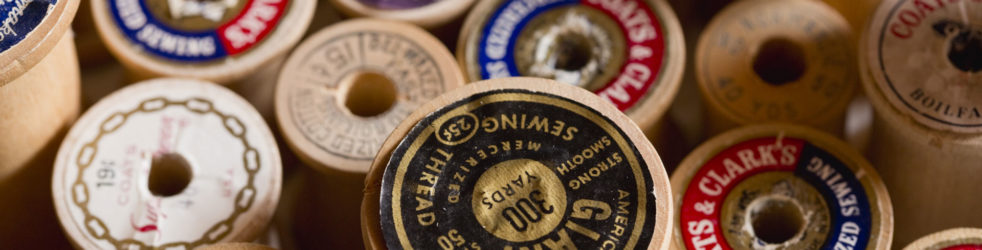
- Wax paper (also known as parchment paper)
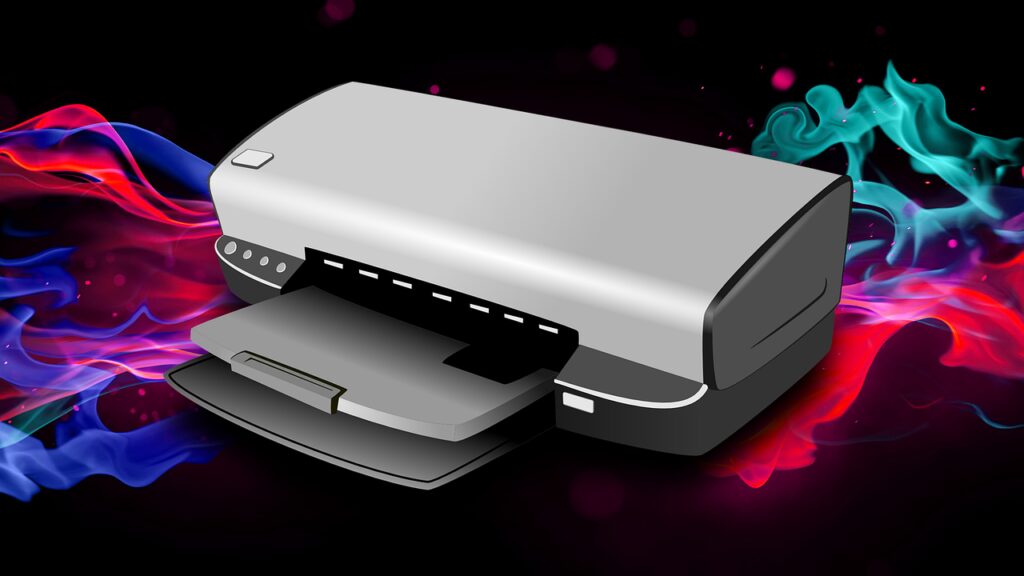
- Inkjet printer
- Scissors
- Iron
- Clean, smooth surface (preferably an ironing board)
- Design or image to print
Step-by-Step Guide:
- Prepare Your Design: Start by selecting or creating a design that you wish to print on fabric. This could be a hand-drawn illustration, a digital graphic, or even a favorite photograph. Ensure that your design is in a digital format and is compatible with your printer.
- Cut the Wax Paper: Cut a piece of wax paper that is slightly larger than a standard sheet of printer paper. The excess will allow for proper alignment during the printing process. Trim any uneven edges to ensure a smooth transfer.
- Print onto the Wax Paper: Place the wax paper into your printer’s paper tray, making sure to load it correctly according to your printer’s instructions. Print your design onto the wax paper, ensuring that you’ve selected the appropriate settings for quality and color.
- Let It Dry: Allow the printed wax paper to dry completely. This step is crucial to ensure that the ink sets properly and doesn’t smudge during the transfer process.
- Prepare the Fabric: While the printed wax paper dries, prepare the fabric you wish to print on. Ensure that it’s clean, dry, and free of any wrinkles. Ironing the fabric beforehand will provide a smooth surface for the transfer.
- Position and Align: Once your printed wax paper is dry and your fabric is ready, carefully position the wax paper onto the fabric, ensuring that the printed side is facing down onto the fabric. Align the edges and corners to ensure accurate placement.
- Apply Heat and Pressure: Set your iron to a medium-high heat setting (without steam) and preheat it. Place a piece of scrap fabric or a clean cloth over the wax paper and fabric to protect both the iron and your design. Firmly press the iron onto the cloth, moving it in a circular motion for approximately 30-45 seconds, applying even heat and pressure.
- Test and Remove: Once you’ve finished applying heat and pressure, allow the fabric to cool for a few moments. Then, carefully lift one corner of the wax paper to check if the transfer was successful. If the image hasn’t transferred completely, repeat the ironing process, applying more heat and pressure as needed. Once satisfied, gently peel away the wax paper from the fabric.
- Allow to Cure: To ensure the longevity of your printed design, it’s essential to let it cure for at least 24-48 hours before washing or handling. This allows the ink to fully bond with the fabric fibers.
Longevity
The longevity of the ink printed on fabric using the wax paper and iron method can vary depending on several factors, including the quality of the ink, fabric, and the care taken when washing and handling the printed item. While this method can produce reasonably durable results, it’s important to note that the prints may not be as long-lasting as professional fabric printing techniques like screen printing or heat transfer.
With proper care, the printed design can withstand multiple washes and maintain its vibrancy for a considerable amount of time. However, it’s essential to follow specific guidelines to maximize the lifespan of the printed ink:
- Allow Sufficient Curing Time: Let the fabric cure for at least 24-48 hours after the transfer process. This time allows the ink to fully bond with the fabric fibers, improving its durability.
- Wash with Care: Always follow the washing instructions provided by the manufacturer of the fabric and the ink. Generally, using a gentle cycle, mild detergent, and cold water will help preserve the print. Avoid using harsh detergents, bleach, or fabric softeners, as they can accelerate fading.
- Turn Inside Out: To protect the printed design, turn the fabric inside out before washing. This precaution helps minimize friction and exposure to abrasive surfaces.
- Air Dry or Use Low Heat: When drying the fabric, air drying is the gentlest option. If using a dryer, select a low heat setting or tumble dry on delicate to prevent excessive heat that can fade the print prematurely.
- Avoid Direct Sunlight: Prolonged exposure to direct sunlight can cause the ink to fade over time. Store or display the printed fabric away from intense sunlight to preserve its colors.
Keep in mind that individual results may vary depending on the specific materials used and the care taken. While the prints may gradually fade with repeated washing and prolonged use, this method offers an accessible and enjoyable way to personalize fabrics for non-commercial purposes.
Conclusion:
Printing on fabric using wax paper and an iron is a fun and accessible technique that allows you to bring your designs to life in a unique and personalized way. With just a few simple steps, you can transform ordinary fabrics into customized works of art. Whether you’re a seasoned DIY enthusiast or a beginner looking to explore your creative side, printing on fabric with wax paper and an iron is a fantastic way to add a personal touch to your projects. The possibilities are endless—create custom t-shirts, tote bags, pillowcases, and more. Experiment with different designs, colors, and fabrics to unleash your creativity.
Remember to take proper care of your printed fabric. Always follow the manufacturer’s instructions for washing and drying to ensure the longevity of the design. Handwashing or using a gentle cycle is usually recommended to preserve the print quality.
So, gather your materials, let your imagination run wild, and start printing on fabric using wax paper and an iron. It’s a satisfying and enjoyable process that allows you to express yourself and create one-of-a-kind pieces. Embrace the joy of DIY and enjoy the wonderful world of fabric printing!
Upcoming Events
This is a list of the upcoming events that Steve Sews will be at. If you know of one in the East Tennessee area, let me know.
None at this time. Check back later.
Meet …
Meet the staff and/or equipment for Steve Sews.
- Brother Stitch (Current Sewing Machine)
- Forge (Circuit)
- Interns
- Lovees (Stuffed Animals)
- Mendi (My Wife’s Sewing Machine)
- Rosie (Antique Sewing Machine)
- Steve (Steve himself)
- The Masked Bandit (Steve’s older Sewing Machine)
- Trainees
- Van the T-Rex (Helper)
- Zee (Face Mask Model)

SUBSCRIBE TODAY!
Don’t miss a single blog post about sewing, quilting, crafts, and recipes! Plus so much more!
Follow on WordPress
Follow Steve Sews Stuff on WordPress.comFollow Steve Sews Stuff on Social Media:
You can also choose to follow Steve Sews Stuff on social media as well. (@SteveSews2)
Below are some examples of blog entries from all blogs that I do. (Courageous Christian Father, Steve Sews Stuff and SteveZ DesignZ).
Recent Feed of All of Steve’s Blogs

Recent Posts on Steve Sews
Below is a list of the most recent blog posts found on Steve Sews for you to check out.
- Deep Pan Air Fryer Hack
 Deep Pan Air Fryer Hack — Here is a hack for your air fryer when cooking meats like chicken and ribs. Especially meats that drip grease. #airfryer #airfryerhack #airfryerhacks
 - Types of Quilt Blocks
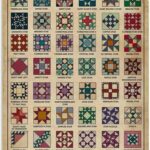 Types of Quilt Blocks — Here are the types of quilt blocks listed in this poster image plus a brief description. #quiltblocks
 - Jeep Ducking
 Jeep Ducking — The Quirky World of Jeeps and Ducks: A Tale of Kindness on Wheels — In 2020, a heartwarming trend emerged from the Jeep community, bringing smiles and a sense of camaraderie to drivers everywhere. This is the story of Jeep Ducking, a movement that started with a simple act of kindness and has since evolved into a global phenomenon. #JeepDucking #DuckingJeep #DuckDuckJeep
 - Fashion Day
 Celebrating Fashion Day: Unleashing Creativity Through Sewing – Fashion is an ever-evolving art form that allows individuals to express their creativity, personality, and sense of style. It has the power to empower, inspire, and transform. Fashion Day is a celebration of this incredible art, dedicated to embracing the beauty of garments and the skillful craft of sewing. In this blog post, we delve into the essence of Fashion Day, explore the joy of sewing, and highlight the importance of this timeless skill in today’s fast-paced world.
 - Name Your Cricut Day
 Name Your Cricut Day – a day set aside to name your Cricut machine. #Cricut #NameYourCricutDay
Clipart: Unsplash, Pixabay, Pexels, Openverse, Adobe Express, Adobe Stock, FreePik, MetroCreative, Wonder AI, Algo AI and more. This site uses Amazon Affiliate Ads & Google Ads.
